问题简述
Next主题优化之增强篇,前几天写了一篇通过配置相关的优化,继续介绍一下代码相关更改的优化。
目录结构
- _config.yml:blog全局配置文件
- node_modules:npm安装的第三方包
- public:执行hexo generate命令,输出的静态网页内容目录
- package.json:hexo-site安装的第三方插件
- scaffolds:layout模板文件目录
- source:文章源码目录,该目录下的markdown和html文件均会被hexo处理
- themes:主题文件目录
优化Catalog
- 修改后重启服务:hexo g && hexo server -p 8888 –debug
Fork me on github
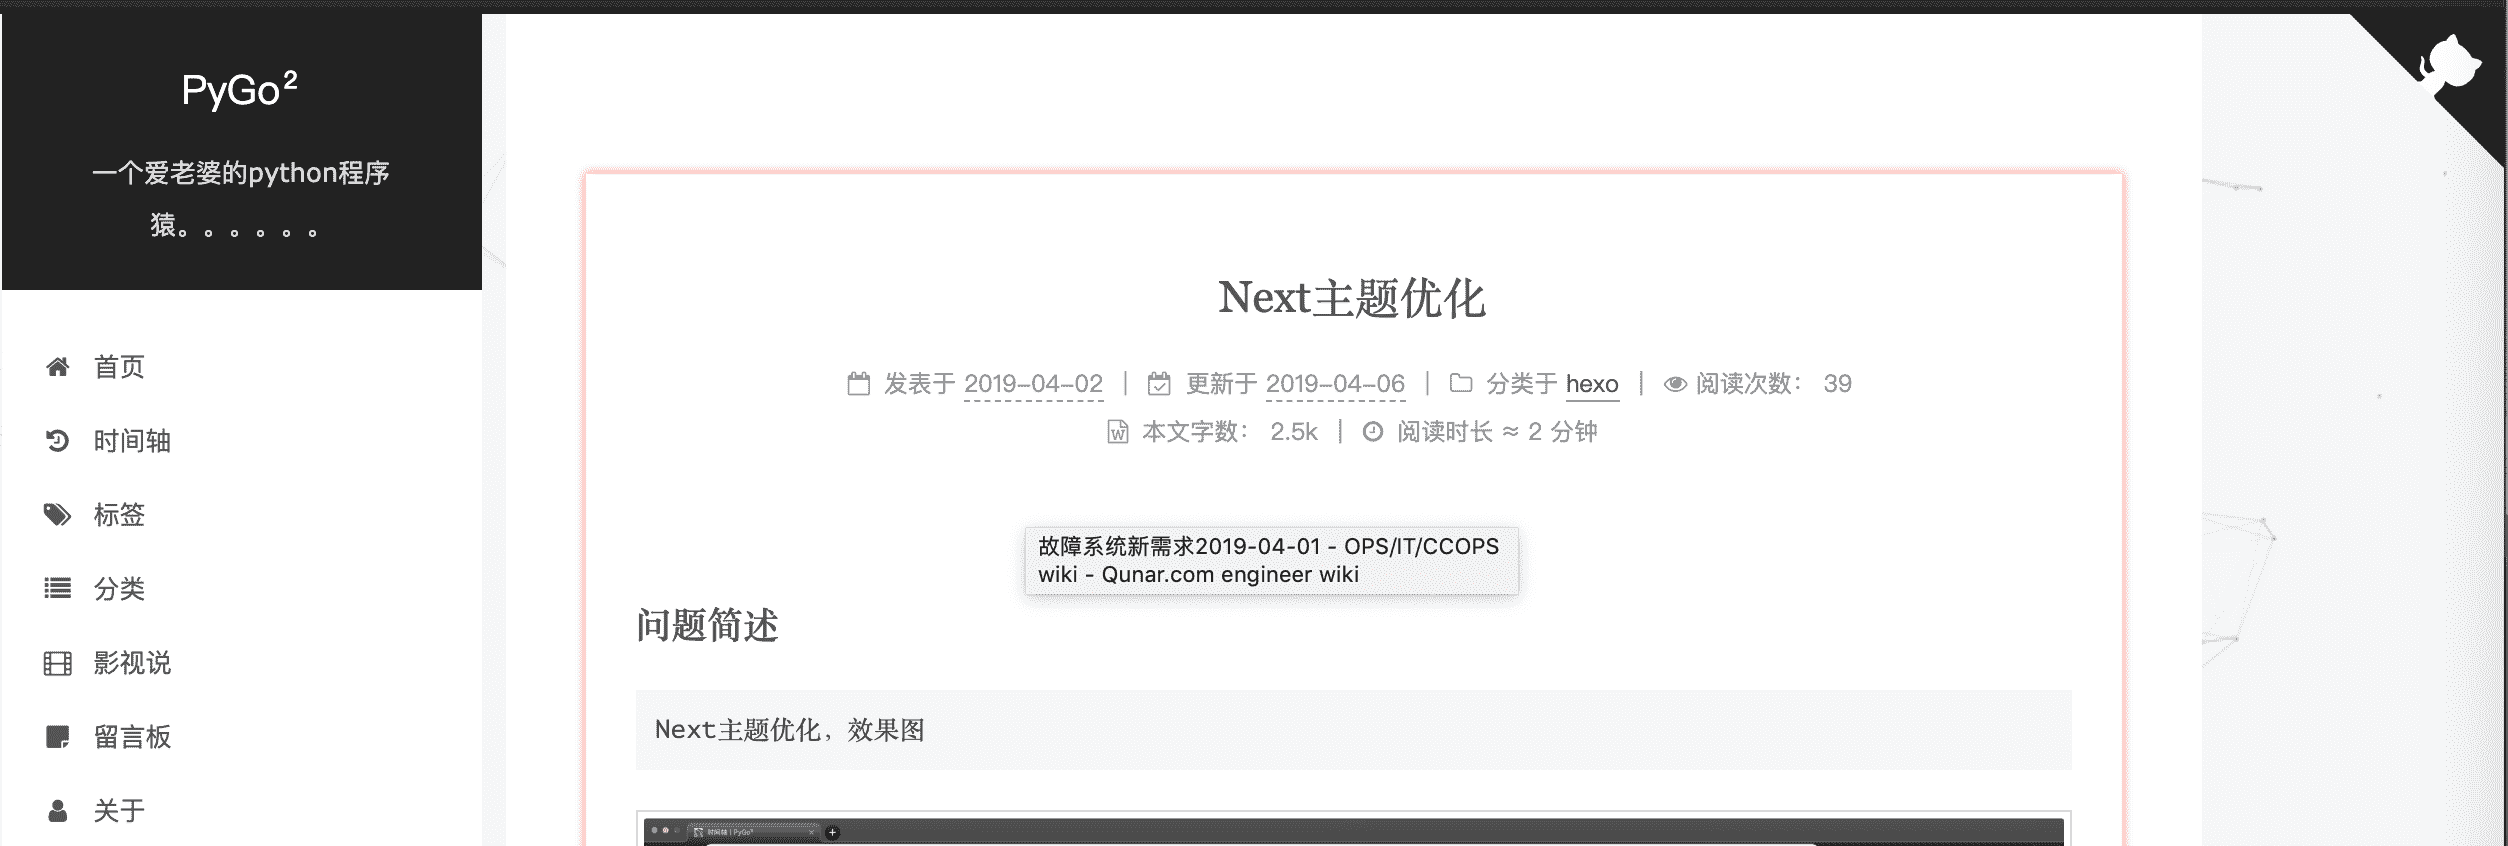
位置:blog/themes/next/layout/_layout.swig
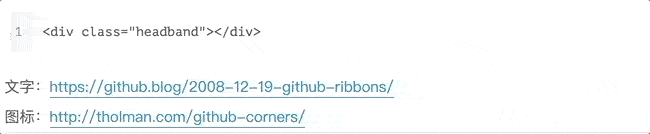
打开上述文件,搜索关键字headband,在这个div标签下添加文字/图标链接的代码,并把href改为自己的github地址。1
<div class="headband"></div>
文字:https://github.blog/2008-12-19-github-ribbons/
图标:http://tholman.com/github-corners/
新版实现方式
在新版只需要配置一下就OK,打开next的配置文件,搜索github_banner,配置一下:
1
2
3
4
github_banner:
enable: true
permalink: https://github.com/GIS90
title: Follow me on GitHub文章内链接文本样式
位置:blog\themes\next\source\css_custom\custom.styl
打开上述文件,样式根据自己的喜爱定义就好,添加如下代码:1
2
3
4
5
6
7
8
9
10.post-body p a{
color: #0593d3;
border-bottom: none;
border-bottom: 1px solid #0593d3;
&:hover {
color: #fc6423;
border-bottom: none;
border-bottom: 1px solid #fc6423;
}
}
添加顶部加载条
添加顶部加载条,步骤如下:
下载js文件,不清楚的也可以直接看github官方介绍:https://github.com/theme-next/theme-next-pace
1
2
cd themes/next
git clone https://github.com/theme-next/theme-next-pace source/lib/pace打开配置文件,搜索pace,更改如下
位置:blog/theme/next/_config.yml1
2
3
4
5
6
7# Dependencies: https://github.com/theme-next/theme-next-pace
pace: true
# Themes list:
# pace-theme-big-counter | pace-theme-bounce | pace-theme-barber-shop | pace-theme-center-atom
# pace-theme-center-circle | pace-theme-center-radar | pace-theme-center-simple | pace-theme-corner-indicator
# pace-theme-fill-left | pace-theme-flash | pace-theme-loading-bar | pace-theme-mac-osx | pace-theme-minimal
pace_theme: pace-theme-mac-osx大家可以根据自己喜欢的样式配置。
tags页样式修改
位置:blog/theme/next/_config.yml
打开配置文件,搜索tagcloud,更改配置如下:1
2
3
4
5
6
7
8
9
10tagcloud:
# If true, font size, font color and amount of tags can be customized
enable: true
# All values below are same as default, change them by yourself
min: 12 # min font size in px
max: 36 # max font size in px
start: "#FF9900" # start color (hex, rgba, hsla or color keywords)
end: "#FF00FF" # end color (hex, rgba, hsla or color keywords)
amount: 80 # amount of tags, chage it if you have more than 200 tags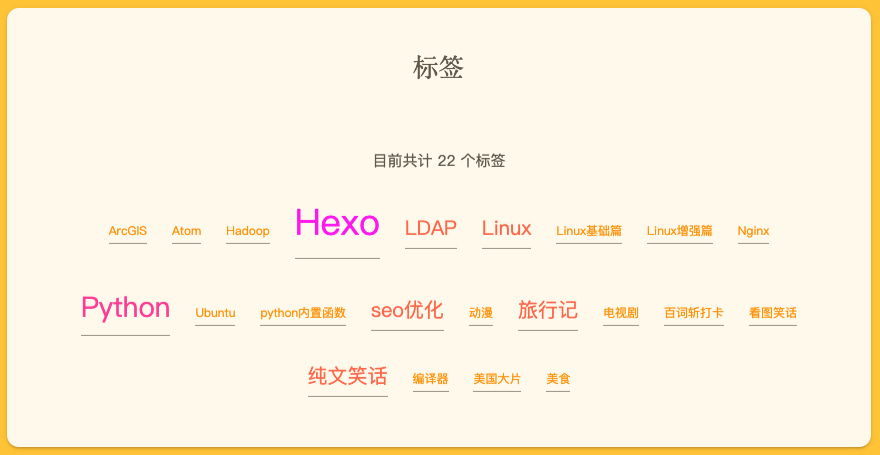
鼠标样式修改
- 鼠标样式文件
把下载好的鼠标样式文件(.cur)放到blog\public目录下。 自定义样式
位置:blog\themes\next\source\css_custom\custom.styl。
打开上述文件,添加如下代码:1
2
3
4
5
6
7
8
9
10// 光明西-背景
body {
background:url(/images/background.jpg);
cursor: url('/images/shubiao_guangmingxi.cur'), auto !important;
}
// 自制主题切换功能样式-暗黑系
body.dark-theme {
background: #282c34;
cursor: url('/images/shubiao_anheixi.cur'), auto !important;
}鼠标样式根据自己的喜好做相关调整。
- 刷新。
- 鼠标样式文件
学习
hexo官方配置手册:https://hexo-guide.readthedocs.io/zh_CN/latest/index.html
hexo图标选取地址:https://fontawesome.com/icons
结束
本篇内容主要解决Hexo、Next更改代码相关的优化,如果想通过配置优化,请查看Next主题优化-基础篇。内容持续更新中,如有bugs,欢迎大家评论指出。
待续。。。。。。(未完结)
学会分享,一起进步